TUTORIAL FOR CREATING
INTERACTIVE 360-DEGREE PANORAMAS
(FULL EDITION ONLY, WINDOWS ONLY)
Note: To
see an example of interactive 360-degree panorama, make sure to try out the sample game
that is included in the Adventure Maker package (both Free Edition and Full Editi13. Check the on).
To play it, simply run Adventure Maker, click "Load Project...", double-click on
"360-degree panorama", and then click "Run Project (Start)...".
Creating such a game does not require any scripting or
programming.
I. Creating the pictures for the 360-degree panorama
In order to create a panoramic game, you need panoramic
pictures. Panoramic pictures are pictures obtained by projecting the 3D world on a
surface.
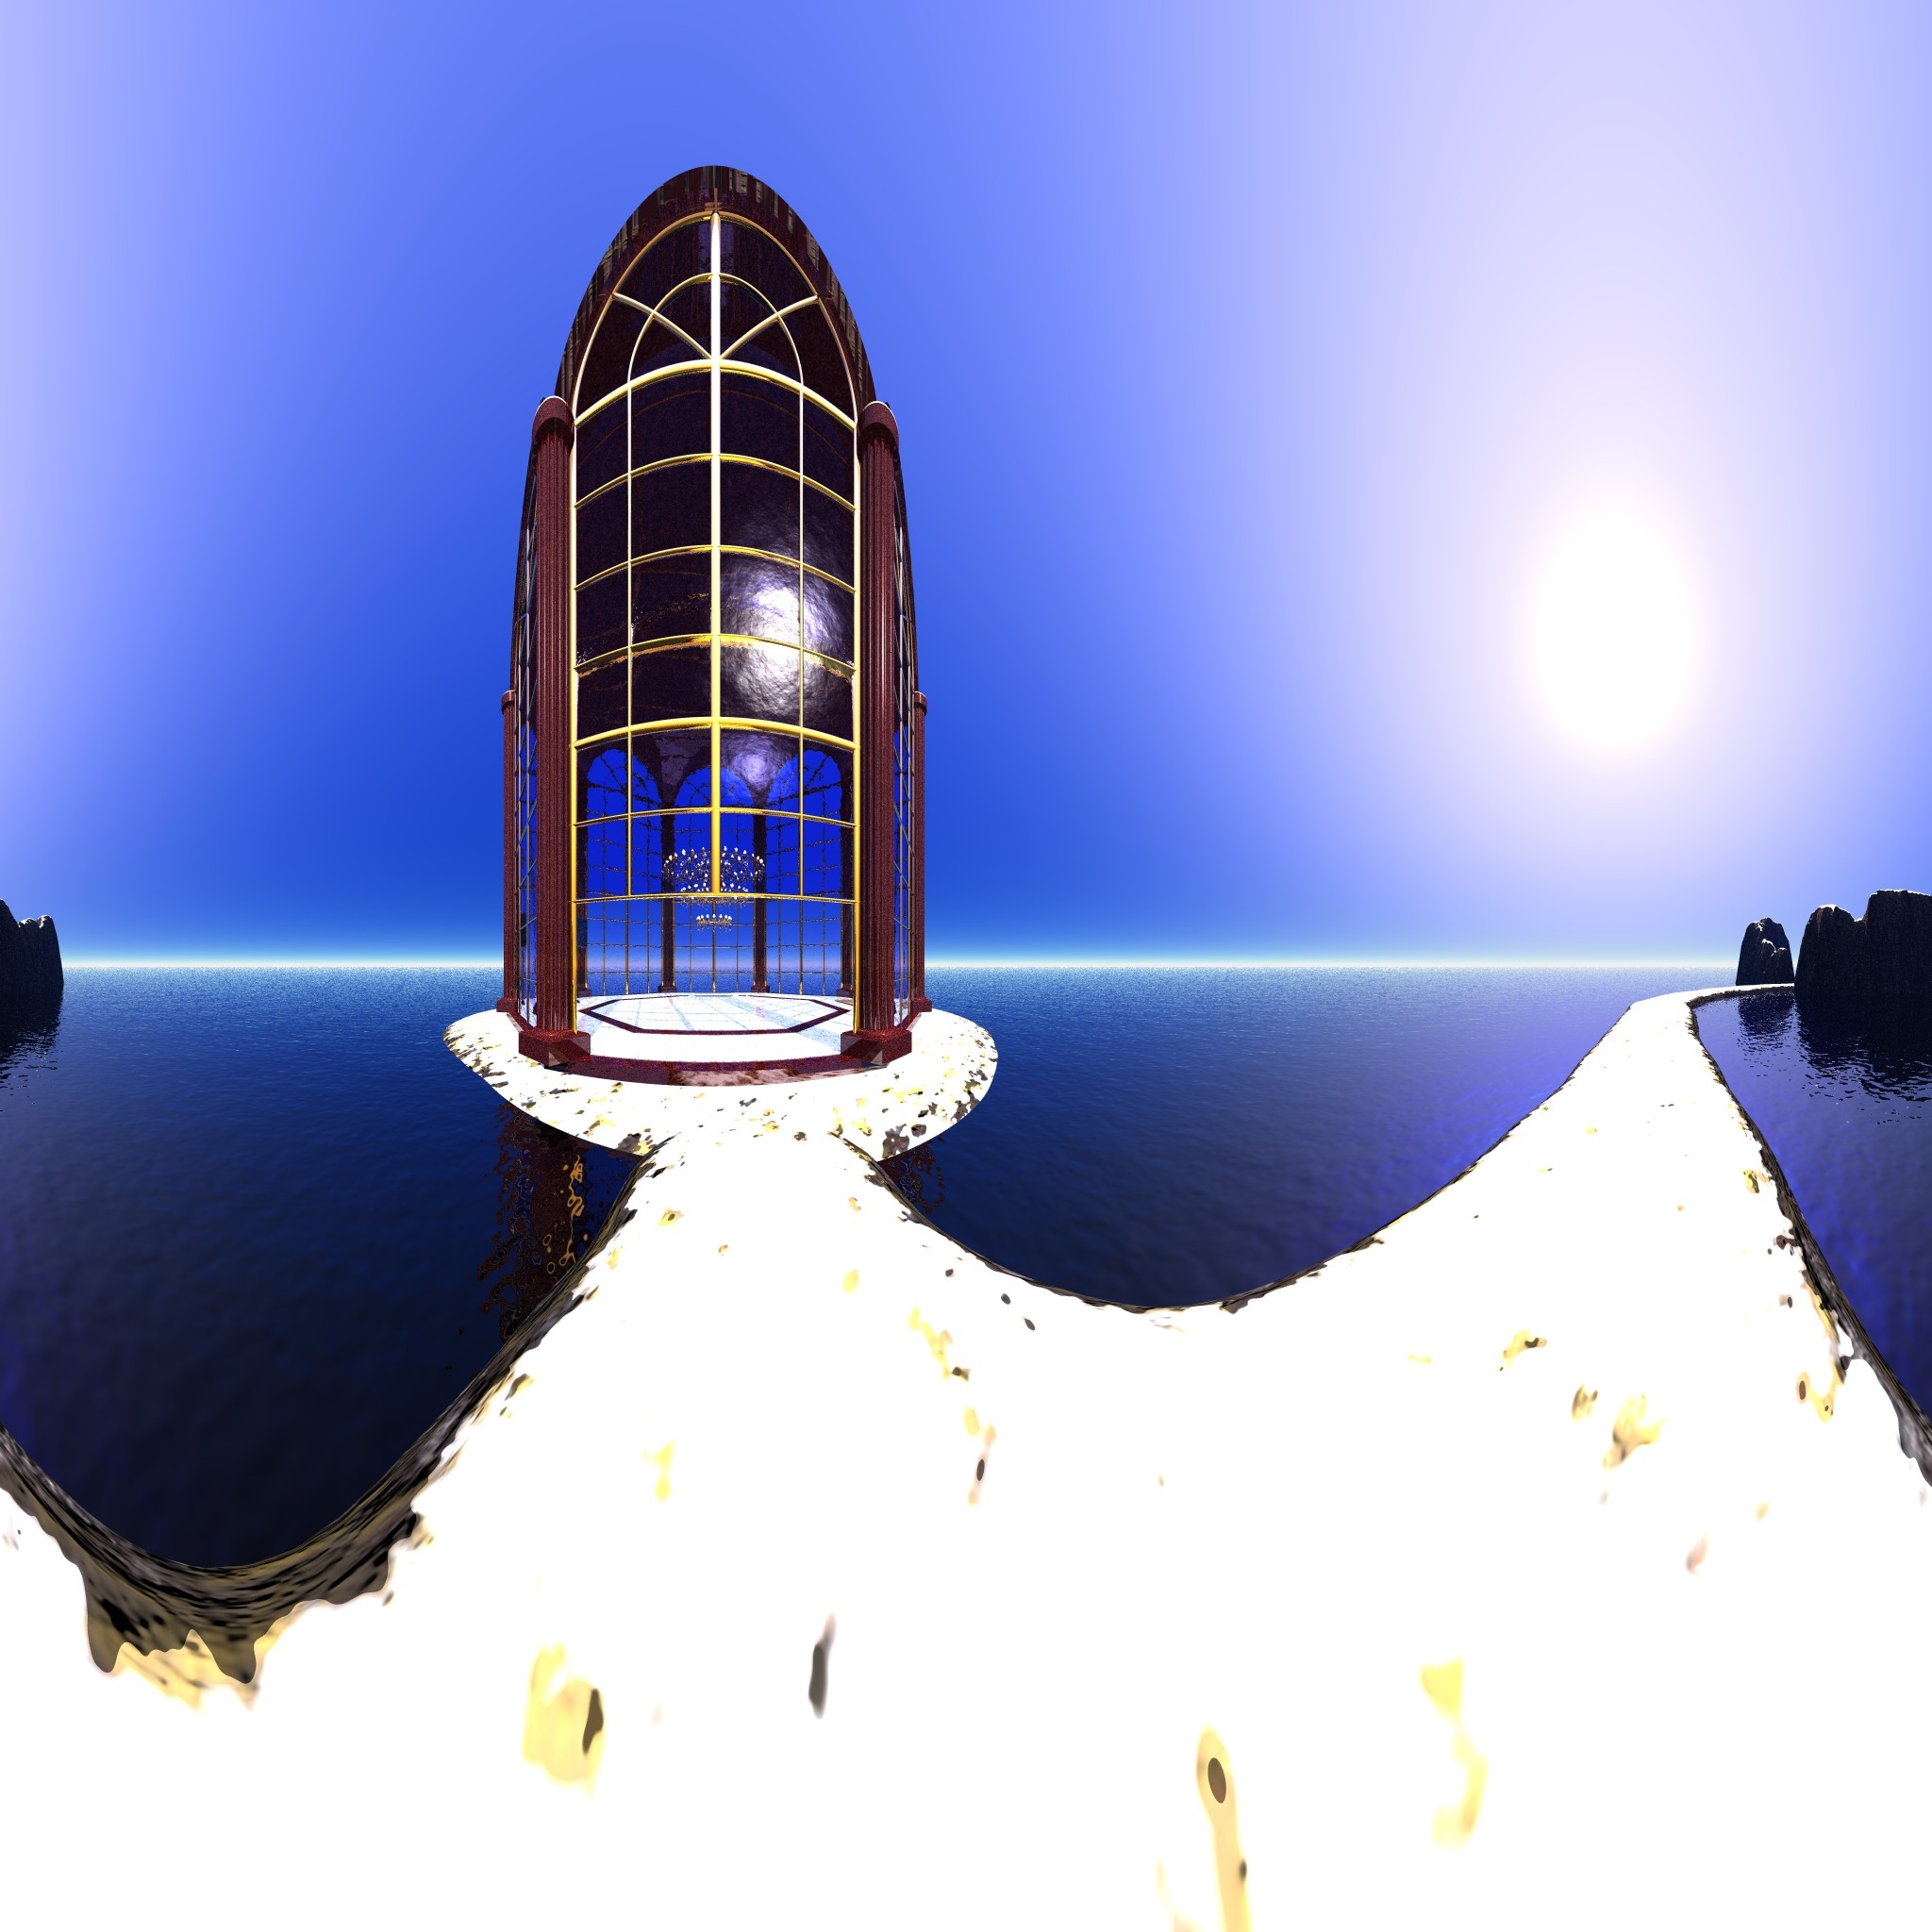
To see an example of high-resolution (2048x2048), 3D-rendered
panoramic picture for use with Adventure Maker, click the following link: panoramic_picture1.jpg
Adventure Maker supports the pictures obtained by projecting
the 3D world on a cylinder. That kind of projection is very common, and is called
"cylindrical panoramic projection". Other types of projections exist (spherical,
cubic...), but they are currently not supported by Adventure Maker.
Here are some small examples of cylindrical panoramic
projections:


If you look closely at the pictures above, you will notice
that they are circular, meaning that the very left part of the picture is the sequel to
the very right part of the picture.
You can also notice that the aspect ratios (the ratios
width/height) can vary. For example, the aspect ratio of the first picture is 4 (meaning
that the width is 4 times the height), while the aspect ratio of the second picture is 1
(meaning that the width equals the height). Any aspect ratio can be used with Adventure
Maker.
The are mainly two ways to create cylindrical panoramic
projections:
If you have a digital camera, you can easily create panoramic
pictures by taking several photos and then stitching them together using a program such as
PhotoStitch (normally bundled with your camera).
Most digital cameras have a "panorama" mode, which
allows freezing the exposure after the shot of the first photo. The result is that all the
photos have the same light intensity, so they can be stitched fine. Refer to the User
Manual of your camera to learn how to use the "panorama" mode.
A 3D renderer is a program that allows creating 3D computer
graphics. Some of the most popular ones are: 3D Studio MAX, Maya, Blender, Bryce, Cinema
4D, POV-Ray, Softimage, Strata3D, Vue...
Most 3D renderers have an option to generate cylindrical
panoramic pictures. If they don't have such an option, there is probably a plugin that
allows doing that. Make sure to use a plugin that creates cylindrical projections, NOT
spherical or cubic projections.
For example, here let's see how to create a 360-degree
cylindrical panoramic picture with Bryce 5:
Tutorial for creating panoramic pictures with Bryce
5:
1. Start Bryce 5
2. Click on the small arrow, as shown in the following
screenshot:

3. A menu should pop up. Click on "Render
Options...", as shown in the following screenshot:

3. The "Render Options" window should pop up. Click
on "360 Panorama Projection", as shown in the following screenshot:

4. Close the Render Options window and start the rendering
(to do so, click on the biggest of the five small gray spheres on the left of the Bryce
window). If your scene doesn't contain any objects, you should get something like that:

5. Try adding a water surface and some objects by clicking on
the icons at the top of the Bryce window. Start the rendering again. You should now get
something like that:

6. You can change the render resolution (i.e. the picture
size) by double-clicking on the render button (the biggest of the five small gray spheres
on the left of the Bryce window). The following window should pop up:

Adventure Maker supports a resolution up to 2048 x 2048. For
the best results, render your pictures at 2048 x 2048, or at least with an horizontal
resolution of 2048 (i.e. width = 2048).
Lowering the vertical resolution allows you to obtain a
smaller vertical field of view. Here is the explanation: the aspect ratio (the ratio
width/height) of the rendered picture affects the way the picture is displayed when
playing the panoramic game. The smaller the aspect ratio, the larger the vertical field of
view. For example, compare the two following pictures:


The aspect ratio of the two pictures is very different. The
first picture has a small aspect ratio, so its vertical field of view is large (the player
can look down at the rocks and up at the sky). The second picture has a big aspect ratio,
so its vertical field of view is small.
For the very best results, you should render your pictures at
a resolution of 2048xY, where Y is a value much smaller than 2048 (like 512), and AFTER
you should stretch (resize) the pictures to 2048x2048 by using a program such as Paint
Shop Pro or Adobe Photoshop. When stretching (resizing) the pictures, make sure to use a
good resize method, such as the "Bicubic Resample" under Paint Shop Pro. Here is
a small tutorial, just to be sure it is clear:
Tutorial for getting the very best quality:
1. Render your scenes at 2048x512 (or 2048xY, where Y is a
value much smaller than 2048):

2. Open the resulting pictures with Paint Shop Pro or Adobe Photoshop, and resize
them to 2048x2048 (in the example below, we used the "Resize" tool of Paint Shop
Pro and we chose "Bicubic Resample" as "Resize type"):

You can notice that the picture appears very distorted. That
is normal. Adventure Maker will display it correctly, provided that you specify the
original aspect ratio under the "Plugins" tab of the Frame Properties (see
screenshot below). In our case, you must enter the number 4, and not 1, because the
original aspect ratio (before stretching the picture) was 4.

II.
Tutorial for implementing the 360 panorama under Adventure Maker
This tutorial assumes that you already have some
panorama-compatible pictures. If you don't, please read the section above for creating
your own panoramic pictures, or just save on your computer the two following picture:
panoramic_picture1.jpg
Note: to save the picture on your computer, right-click on
the link above and click "Save target as..." (or something similar, depending on
your browser).
 1. Run Adventure Maker
v4.x Full Edition. 1. Run Adventure Maker
v4.x Full Edition.
2. Click "New Project...".
3. Enter a project name and click OK.
A message will pop up asking you to choose the "target platform".
Select "for Windows" and then click OK.
4. Another message
will pop up. Click Continue to proceed. The Frames
Management window will appear.
5. Click "Project
Properties...". The Project Properties window will appear. Click the "Plugins" tab, as shown in the following
screenshot:

6. Check the small box that
is near the plugin named "AM Panorama Plugin":

7. Click OK
to close the Project Properties window.
8. Click "Create
New Frames (by importing pictures)":
9. A file selection window
will popup. Locate the panoramic picture on your hard drive (for example, you can use this
one: panoramic_picture1.jpg ), and then double-click on it or click "Open".
A new thumbnail will appear under the Frames Management, as shown in the following
screenshot:

10. Double-click on the
thumbnail. The Frame Editor window will appear.
11. Click on "Frame
Properties" from the menu on the left:

12. The Frame Properties
window will appear. Click the "Plugins" tab:

13. Check the option "View
as 360 degree panorama":

14. The settings allow
choosing the initial camera orientation and the picture aspect ratio. For the moment, just
leave the default settings. You can experiment with them later.
Note: The aspect ratio for
the picture panoramic_picture1.jpg is 1, because the picture is a square. For more
information on what the aspect ratio is and how to improve the picture quality, please
read the section above, titled "creating the pictures for the 360-degree
panorama".
When you have done, click OK
to close the Frame Properties window.
15. If you wish to create
some hotspots to make the panorama interactive, you can do so now, by
drawing a selection on the picture, as shown in the following screenshot:

To draw a selection, just hold down the
left mouse button, drag the mouse, and then release the button. As soon as you release the
button, the "Hotspot Properties" window appears, allowing you
to link the hotspot to another picture, to play a sound, and more:

Some options are specific to
the 360-degree panoramas. You can view them by clicking on the "Plugins" tab:
You don't need to use any of
these options for the moment. However, if you are curious to know what they are used for,
here is a short description:
The
first option allows reloading the current panorama picture when the hotspot is clicked.
The purpose is to refresh the visibility (visible or hidden) of the graphical hotspots*
depending on the value of the variables. The conditions can be set under the
"variables" tab of the Hotspot Properties.
* graphical
hotspots are hotspots to which you have associated a picture by changing the
"appearance" setting that is under the "General" tab of the Hotspot
Properties window.
This
is useful for example to create switches that have several positions: just create several
graphical hotspots stacked one on top of the other, and change the settings that are under
the "variables" tab to make them appear/disappear on user click.
The
second option is useful when moving to another frame. It allows choosing the initial
orientation of the camera. In fact, the orientation of the camera in the destination frame
can be different depending on what frame the player came from.
The
third option allows playing a video at given coordinates in the panoramic picture. An
example is the puzzle with animated switches in the sample 360-degree game included in the
Adventure Maker package (any edition). Note: the result is very different from that of the
"Play a video" option that is under the "Action" tab. The latter
allows playing a video on top of the game window, while the option under the
"plugins" tab allow playing a video as part of the 360-degree panorama.
16. When you have finished
creating hotspots, click "Back to project menu" to return to
the Frames Management:

17. You must now choose the
picture that you want to appear when the project starts. To do so, click "Project
Properties...", and choose the "Initial frame":
18. Click OK
to close the Project Properties window.
19. Click "Run
Project (start)" to play the 360-degree game:

After testing the game, if
you wish to distribute your game to give it to other people, just click "Create
executable (.exe)" from the Project Menu, and follow the on-screen
instructions.
This is the end of the
tutorial.
III. Limitations
Some features (such as the "Rippling
Water Effect") are not available while in panoramic frames.
Furthermore, in the current
version of Adventure Maker, you cannot directly
use the inventory while in a panoramic frame (however, it is possible to go
to a 2D frame and use the inventory there). A workaround consists in using a
variable to remember that the item has been picked up.
Note: To be sure that LoadGame/SaveGame
works fine, you should create a "Loading..." frame and then add it to the
"Set resume locations" table (click "Set resume locations..." from the
Project Menu of Adventure Maker), as demonstrated in the 360-degree sample
game included in the Adventure Maker package. Then, go to the "Frame
Properties" of that "Loading" frame and add a timer in order to redirect the
player to the "[Last visited frame]".
|